Free & Fast USA Shipping Learn More

Mod Master – The Quick Guide to Seiko Bezel Replacements
When it comes to the personalization aspect of timepieces for people on a budget, nothing speaks quality and budget as well as Seiko watches do. While Seiko watches are some of the highest quality yet mass-produced products on the market, there is one thing that sets them apart from other competitors. What drives people to buy these Japanese horological masterpieces is their mod capabilities, and no other watch brand can match this unique feature.
Seiko mod parts come in practically every aspect of the watch, and in some instances, you might even be able to build one from scratch. Whether you want a new case, a brightly colored dial, a unique case back, or a whole new bezel and insert to give a whole new look, this is all possible.
Replacing the Bezel On a Seiko Watch With Mod Parts
If you’ve chosen a bezel and a bezel insert to go along with your mod process, then the next step is to get the right tools for the job. This ring is significant in a dive watch, and if you own an SKX model, ensuring that you have an excellent and high-quality SKX bezel insert is essential. Here are some of the tools you will need for a full-scale bezel replacement job on your Seiko timepiece:
- Watch Case Tools
Remember that when working with something as small as a wristwatch, the proper tools are needed to ensure all internal and external parts’ safety. Using the wrong tools can damage components and even scuff and scratch your case. You will need the tool to pry off case backs as a starter because this is how you access the bezel.
- Bezel and Bezel Insert
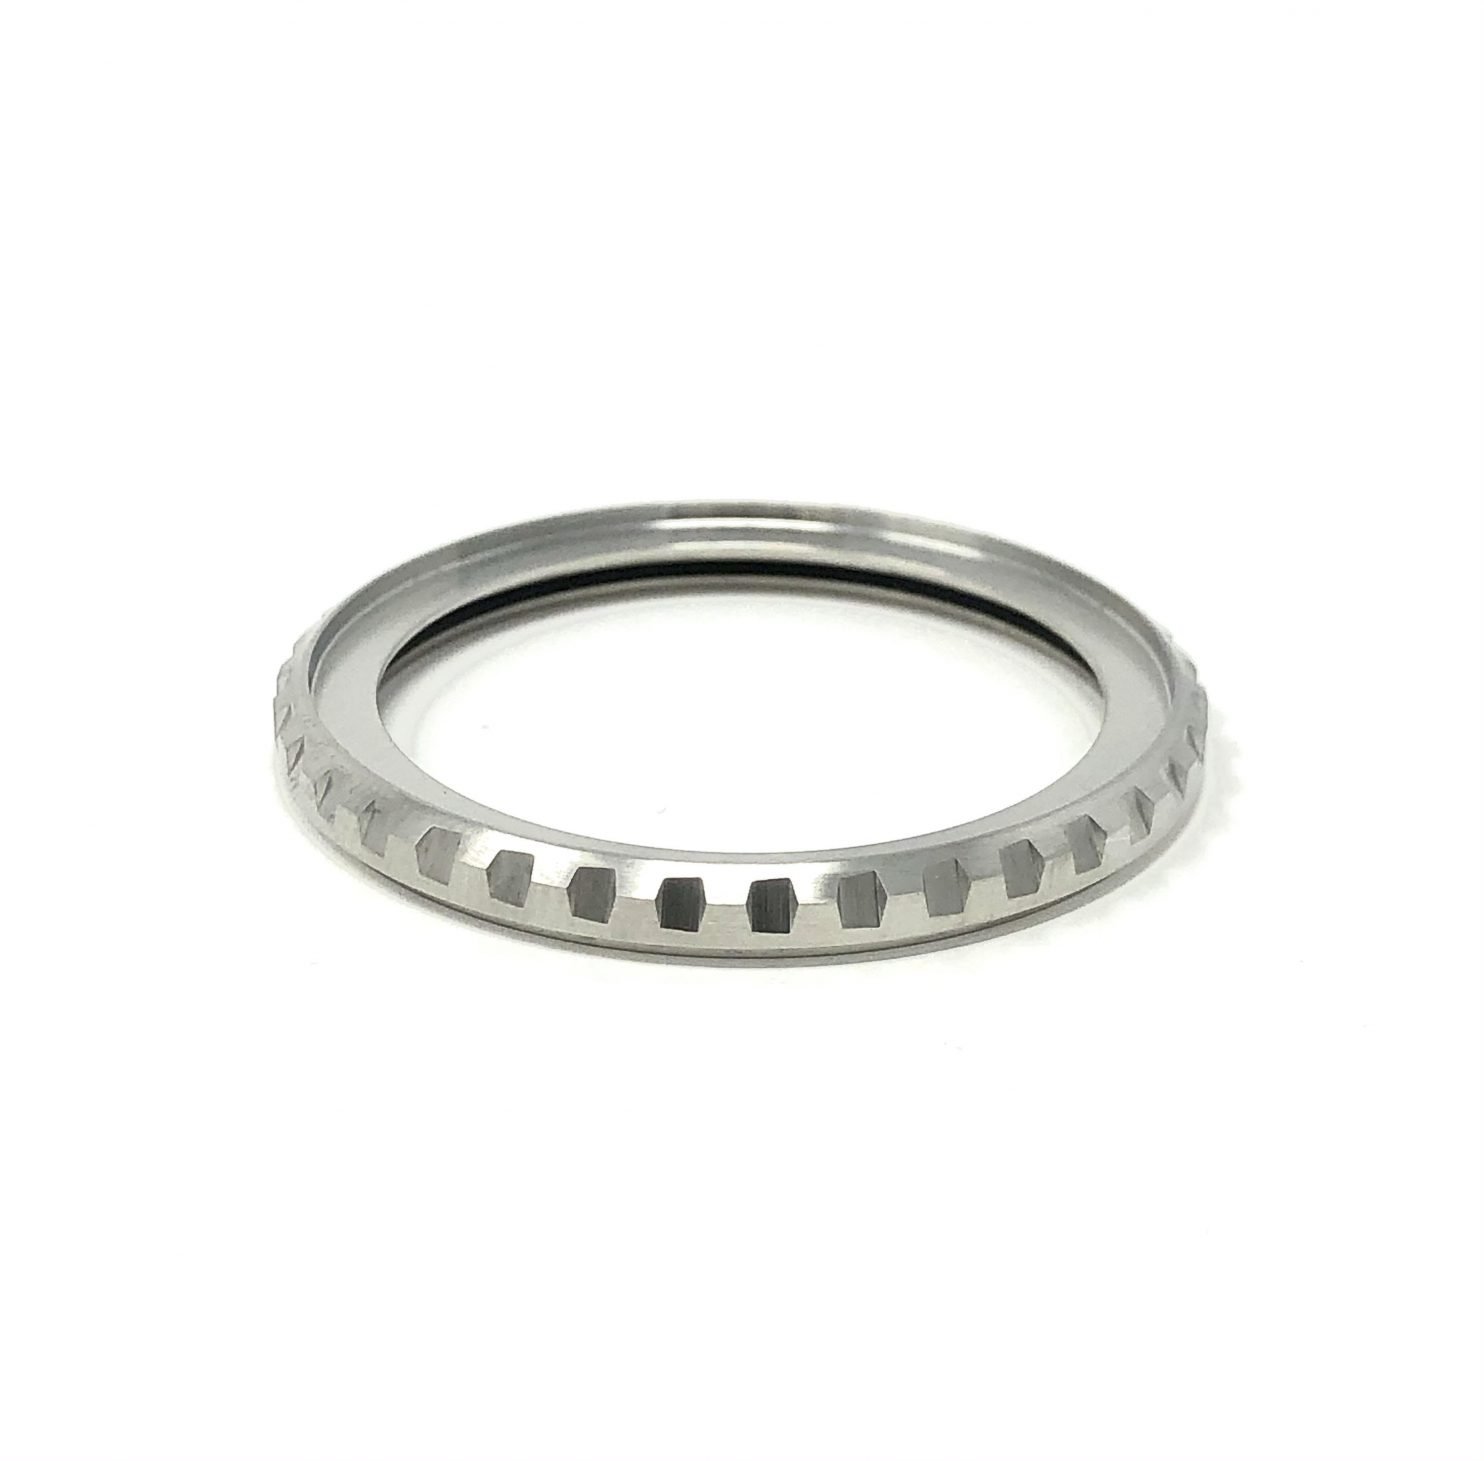
The bezel and the insert are two different things. The former is the ring with rough edges to offer friction that allows the user to turn the bezel. They come in varying thicknesses and edge shapes. The latter is the unit’s aesthetic part, which has varying colors, shapes, and indicators, which can turn a watch into a whole new one.
- Adhesive
Adhesives are optional, as most inserts come with their own tapes. However, using extra adhesive material can help keep the products in place and prevent them from falling off at unfortunate times.
The Steps to Installing
Here is how to install your new bezel and insert:
- Remove the Stock Bezel
Depending on which watch you are dealing with, you can secure bezels to watches in different ways. Some are linked directly to the case, have screws to attach them, or just snap on and off easily. Do some digging to determine what kind of ring you are dealing with so that you don’t damage the watch. Carefully utilize the case tools to pry off the bezel using its gap with the case. However, most dive watches have notches at the 12 o’clock mark to make things easier.
- Add the New Bezel
When installing the new bezel, put the watch case flat on a stable surface, press one side first, and slowly push the others onto the rest of the sections. When installed properly, this freely rotates, but unidirectional ones will only go one way. Ensure that the click ring is aligned before pressing the new bezel ring into the case for maximum functionality.
- Install the New Bezel Insert
This step is arguably the easiest, as this just entails removing the adhesive tape backing and aligning the time indicators properly with the chapter ring. Adding extra adhesive can help secure this semi-permanently, suitable for those who are clumsy with their timepieces.
Conclusion
Seiko mod parts are some of the best ways to personalize a timepiece on a budget. They are inexpensive yet have a premium look and feel. If you are looking for a way to test your DIY skills and fuel your passion and love for watches, grab a Seiko and start shopping for watch mod parts today!
Crystaltimes USA is a purveyor of Seiko mod parts that stem from SKX bezel inserts and other high-quality components to give a whole new life to your watch. Find the right parts and style for you and have a good experience with timepiece personalization. View our parts catalog to see more of our Seiko mods for sale.